Do you want to create your own tennis ball machine at home? You don’t need to go anywhere when we are here for you. This article will guide you on how to make a tennis ball machine at home at an affordable cost. It is all about your creative skills. You know better about what you need in your tennis ball machine. We have mentioned the process which will help you out while making a tennis ball machine.
List of Tennis Ball Machine DIY Process:
Tennis ball machine DIY is an excellent project for those who want to learn how to build their tennis ball machines. You don’t need to buy an expensive branded tennis ball machine; you can follow the steps and make your own in a cost-effective manner.
You will need to buy the following parts to start building your ball machine:
- 1-direction motor driver
- 125 PU Wheel
- 7 GB Socket
- Acrylic Sheet
- Beam 2424-312
- Bracket
- CNC Motor Case
- D Shaft
- Flange Bearing
- Jackscrew
- M4 Lock Nut
- Plate
- Plastic Rivet
- Rubber Foot
- Shaft Collar
- Socket Hexagon Button Head
- Shaft Connector V2.0
- Timing Pulley
- U Bracket-C
- Washer

Where to buy spare parts for making your machine?
There are many places where you can find spare parts for this machine. You should go to a local hardware store and buy new stuff to make your automatic launcher. You can also order these parts online from Amazon or eBay. The prices are usually lower than buying them locally because they are shipping from China instead of your own country.
Steps to make your machine:
Keep in mind that you won’t be able to create an identical machine. Without the complicated features of advanced tennis ball machines, we will show you how to build one that can toss balls from the distance.
- We will start building the structure of our tennis ball machine in an L shape. As you face difficulty afterward, we recommend making yours in an L shape. But it is optional, and you can choose whatever form you want.
- In the second step, we need to connect the beams 2424-312 together using screws and nuts. It is essential to do this procedure carefully. There would be a problem if you did not fix the nuts correctly.
- When the machine begins tossing balls, it vibrates quite a bit, so we must ensure all the screw nuts are tightened down securely.
- Now we have to attach rubber foot pads to the underside of each leg so that the machine may stand upright.
- After the L- Shape structure is finished, we need to work on the wheel’s rotation and any necessary beam fixes.
- Then, the next step will be to use an adhesive to attach a timing belt to the rivet. After that, we must do it again with the next wheel.
- After fixing the wheels to the beams, the next step is to set up the battery and other electrical connections. To prevent the battery from rattling loose from vibrations, secure it with a screw.
- Fix the movable parts by adjusting the bearings.
- Connect the wires and start wrangling to hook up the motor.
- When relocating the ball tube to create room for the engine, remember to preserve the original location intact.
- The moving parts (such as wheels) and the motor (powered by electricity) may now be joined.
- It is now time to get a silver or steal sheet if feasible. Cover the machine and give it some form. Putting a covering across the device would make it heavier, but you must ensure it has no navigational system.

Homemade Tennis Ball Launcher:
If you have got a lot of balls and don’t want to spend money on a machine, the best thing you can do is build your own. The process of making a tennis ball launcher is pretty simple, but it does take some time. The first step is to decide on what type of ball machine you want to make.
You can buy the top tennis ball machine if you don’t want to make it at home.
Check on Amazon
There are a few points that you need to do to create your tennis ball machine:
1. Understand the mechanics of Tennis Machines:
The mechanics of a tennis machine are simple and pretty much self-explanatory. There are the following mechanics of the tennis machine:
Powered wheels
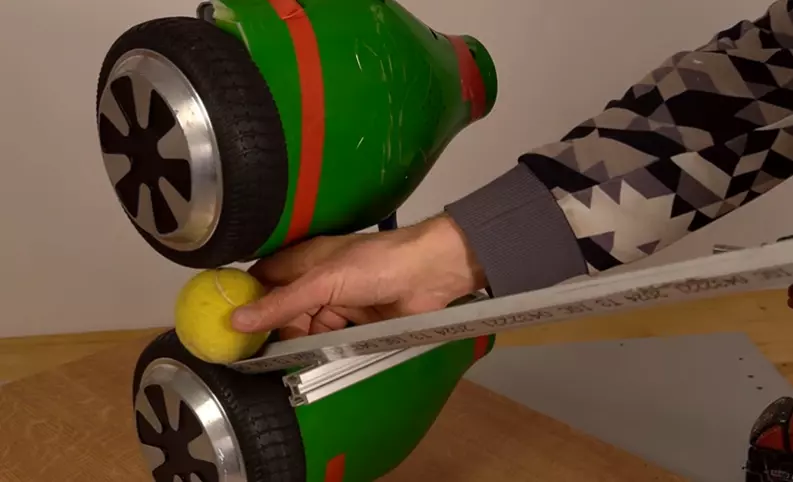
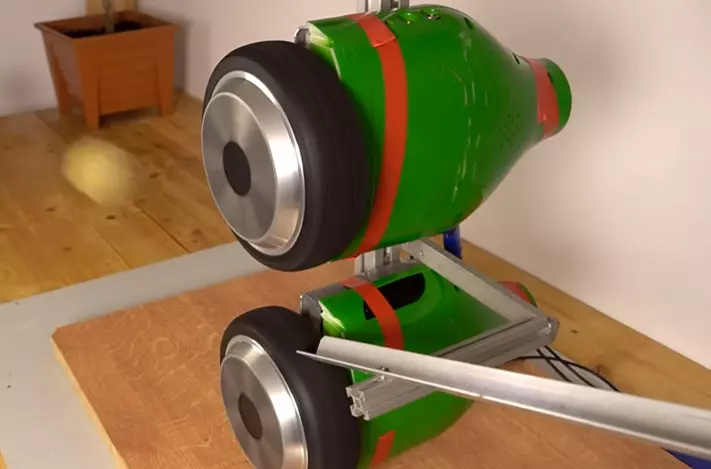
We must first understand what primary brands machines use to deliver their balls. They use wheels that spin in opposite directions to propel the balls. An electric fan pulls ambient air and forces it into the canister when activated. The air is filtered twice—first through a slab of foam, then through a screen—to prevent particles from reaching the fan motor. The balls are directed toward the landing location using a hopper driven by an electric motor.
The wheels provide tremendous pressure to the balls, squeezing them and driving them into a circular tube with a narrow entrance. A detent is a name given to the round, rubbery, pliable portion. When the ball is seated in the detent, it seals off the tube’s opening. At the same time, a plastic cover for the opening collapses, increasing the inside pressure.
Pressurized chamber
The force of the air on the ball eventually overcomes the detent. A detent is a round, rubbery, pliable region. As a result, the ball will hurtle down the barrel and onto the court. When the internal pressure is reduced, the entry flap opens, allowing another ball to enter the tube. Each ball is used again in the procedure until there are none left.
Hitting the balls
If you’ve ever used a ball machine, you know that you can change the machine’s settings to simulate any shot you want to practice. This includes changing the angle, height, depth, and spin. To do this, the wheels’ rotational velocity must be adjusted. The machine may generate a topspin, for instance, if the speed of the upper wheel is greater than that of the lower wheel. Backspin is produced when the bottom wheel rotates faster than its top counterpart. Shirts, confetti, and fake snow launch devices all use a similar mechanism to achieve a comparable effect.
2. Electric Parts:
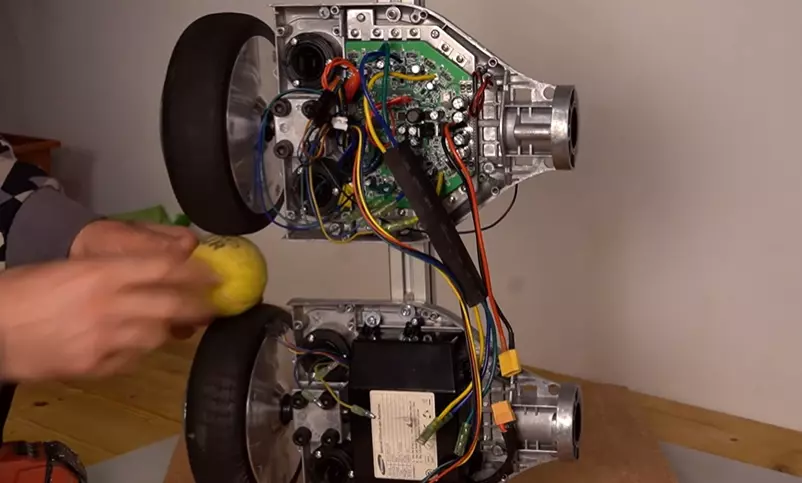
The motor (the electric motor) is essential to this machine. It’s the one that moves the ball, and it will be your main focus when you build this project. You can get a remote-controlled battery-powered motor or create your own using a DC motor and some gears. I chose to build my own because I wanted to control how fast I could spin it, but it doesn’t matter which way you go as long as it’s strong enough for what you want to do!
The PWM (pulse width modulation) controller controls how fast your motors spin and how hard they spin at different speeds. To find the right speed for your motors, make sure that each motor is spinning at least 50% faster than its highest speed when it’s spinning slowly or at least 10% slower than its highest speed when it’s spinning quickly!
The ESC (electronic speed controller) helps control which direction your motor rotates in by applying a voltage to it when you turn on your motors and then sending that voltage back out of the ESC when you turn off your motors so that they don’t keep running unless there’s an external force being applied to.
3. Ball Hopper:
A ball hopper is the part of a tennis ball machine that holds tennis balls and allows them to be loaded into the machine. A ball hopper is made from any strong material to withstand the wear and tear of being in a commercial machine, but plastic is usually the cheapest option. I recommend using steel because it’s durable, easy to work with, and won’t rust.
The ball hopper is a large bowl that fits over the drill and holds tennis balls. It should be more significant than the auger hole, so you can put a stopper to keep the balls from escaping. You’ll also need to drill a hole in the back of the hopper so that air can enter and escape from it. If you’re using a wood or plastic hopper, make sure it has an open bottom so that air can flow freely.
4. Wheels and Tube:
The wheels and tube are the main parts of the machine. These tubes are made of steel, which gives them high strength and durability. The tubes are hollow, which allows them to store more tennis balls. The wheels have to be round and smooth but not too round. The tube has to be flexible enough to roll around the ball but not so flexible that it breaks or bends easily.
The wheels should be made from a hard plastic such as PVC or PU (polyurethane). These are available in different sizes and weights. The tube has to be flexible enough to roll around the ball but not so flexible that it breaks or bends easily.
The weight of your machine will depend on how much you want it to travel, how much force you want to apply on each stroke, and how far you want it to travel per stroke (the longer the stroke, the more energy is required).
5. Machine Structure:
The machine structure is very simple. It has base, middle and upper shafts. The two upper shafts are steel, while the middle and lower shafts are wood. The whole machine is covered with a thick layer of paint.
The machine structure consists of a base, a frame, and a cover. The base is made of wood or metal and serves as the foundation of the entire machine. It also has to be strong enough to support the weight of the ball hopper and other machine parts. The frame is made from steel or aluminum and serves as the main support for all main parts of the machine. It also provides stability to these parts. The cover protects all mechanical parts from dust and dirt, which makes it easier for you to maintain your tennis ball machine in good condition.

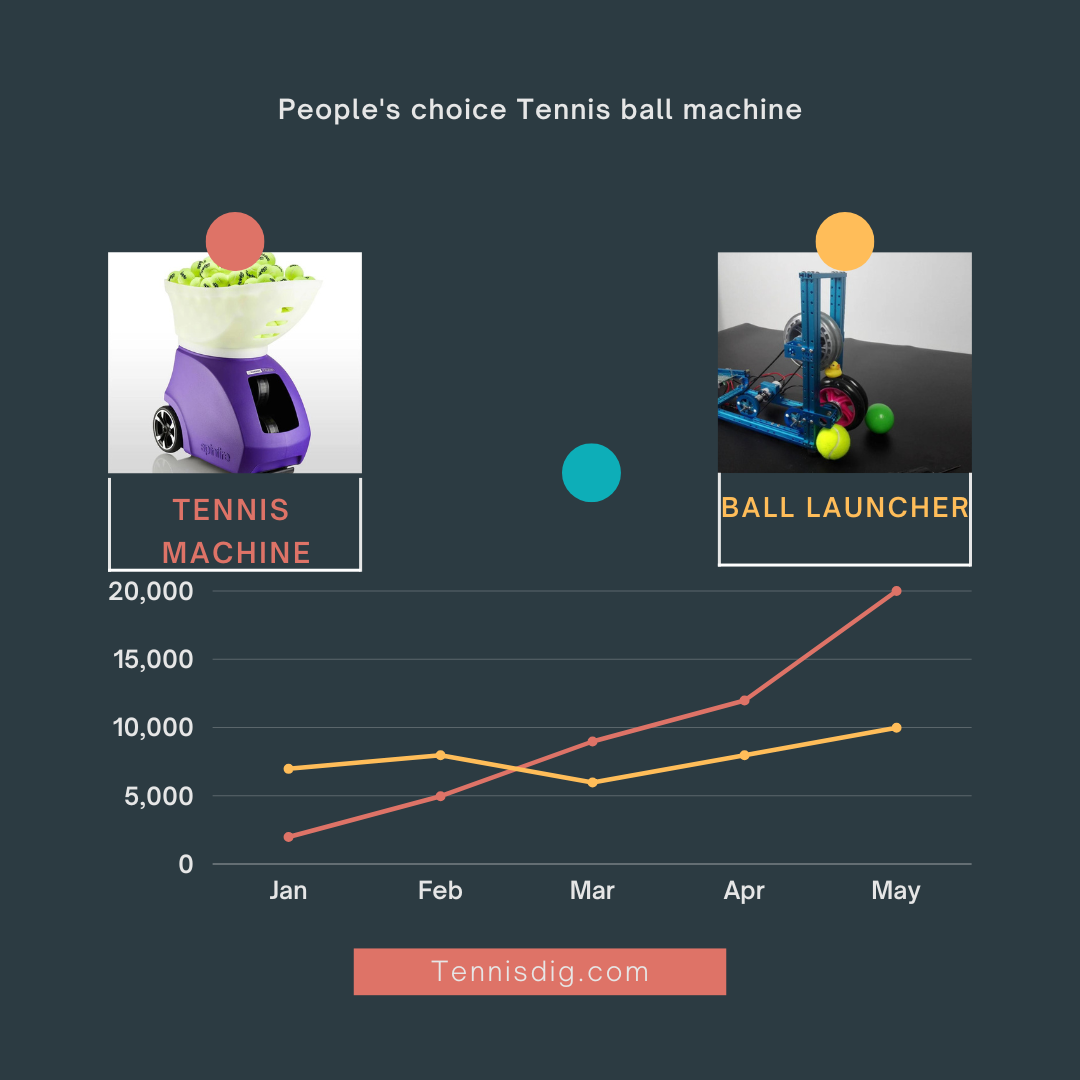
Homemade ball Launcher Vs Professional Tennis ball machine
According to the stats people always prefer professional tennis ball machines but you can build your own ball launcher if you want to become a pro player in tennis. you can enhance your skills.

Conclusion:
The best tennis ball machine is one that you can make on your own. Because you know your requirements which you need to present in your tennis ball machine. Also, the DIY tennis ball machine project is a great way to save money, time, and effort. All you need to do is gather the materials and follow the instructions carefully. The project takes about an hour and a half, so it’s not very complicated. Hope so this article will help you to develop your tennis machine DIY efficiently.
FAQs
Is making a tennis machine at home good?
Yes, it’s a fun project to do. You can make your tennis ball machine with a few tools, and it won’t cost you too much. Making your tennis machine can be a great way to save money and make something unique. However, before you jump into the project, be sure that you know exactly what you’re getting yourself into. Many options are available for making a tennis machine, and each has its benefits and drawbacks. You have to calculate on your own and choose which one you want.
Who can make a machine at home?
Anyone can make a tennis ball machine at home. If you’re only going to use it, for one thing, you don’t need to spend much money. At first, the idea of making tennis ball machines at home might seem like a daunting task. But if you have the right tools, building your tennis ball machine is quite easy.
You can find all of the necessary parts and pieces to make a tennis ball machine online, or you can find them at most local hardware stores. The only thing you will need to purchase is a tabletop. You can use a wood table or even a concrete slab.
This project will teach you how to build a tennis ball machine for pennies on the dollar compared to buying one from an electronics store.
Is it tough to make a tennis machine at home?
Yes, making a tennis machine at home is tough but not impossible. You need to have a lot of patience and time. But if you have the patience and time, you can easily make a tennis machine.
The first thing that you need to do is buy some parts from an online store. These parts include a motor, wheels, and other small parts. Then you will have to assemble these parts and ensure they are working correctly before using them in your machine. You will also want to purchase some tennis balls from an online store. These balls should be sized according to the size of your machine so that they fit perfectly into it. After assembling all the necessary parts and purchasing the appropriate equipment, all that needs to be done is turn on the power switch and play around with your new invention. Sounds easy, right? You can follow the steps given above in the article.
Should we buy a new machine or DIY it?
The decision to buy a new machine or DIY depends on your budget, the job size, and whether you have experience with this type of project or not. You may not need to buy a new machine if you have an existing one. If your tennis ball machine is still working correctly, but the tension spring is worn out, you can replace that with a new one. And if your compression spring is worn out, you can still use this DIY project for replacement. The only downside with DIY projects like this is that they take a bit of time and effort to complete, but they’re definitely worth the effort!
