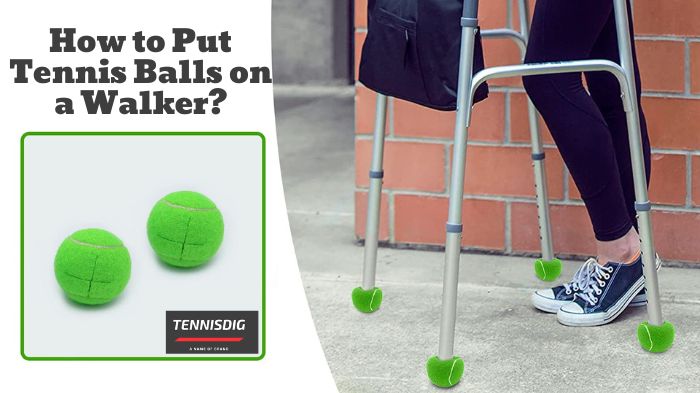
As you age, body movements can become difficult. In such situations, walkers can be handy for many people. Improving a walker’s stability and agility may significantly impact the everyday lives of persons who use them. Adding tennis balls to the walker’s legs is a simple but effective approach. But how to put tennis balls on a walker? Let’s practice this low-cost and practical method to improve mobility and make it hassle-free.
What is the Reason for Tennis Balls on Walker?
You might wonder why and how to put tennis balls on a walker. Tennis balls provide a smooth and gliding surface, reducing friction and allowing you to travel more effortlessly over different floor types.
This improvement enhances the user’s operation while reducing the chance of scratches on indoor surfaces.

How to Put Tennis Balls on a Walker?
The following steps help you learn how to put tennis balls on a walker to provide an efficient mobility experience to your dependents.
Step 1: Gather the Materials
To begin, you require a few readily available things, including
- A walker
- Four standard-sized tennis balls
- A sharp utility knife or a pair of scissors
- A marker (optional)
Step 2: Prepare the Tennis Balls
Begin by picking four tennis balls of equal size and good condition. Ensure that they are clean and free of dirt and debris. If you want to add a personal touch, use a marker to name each ball with a distinguishing mark, making it easy to tell which ball belongs to which leg of the walker.
Step 3: Cut a Small Slit
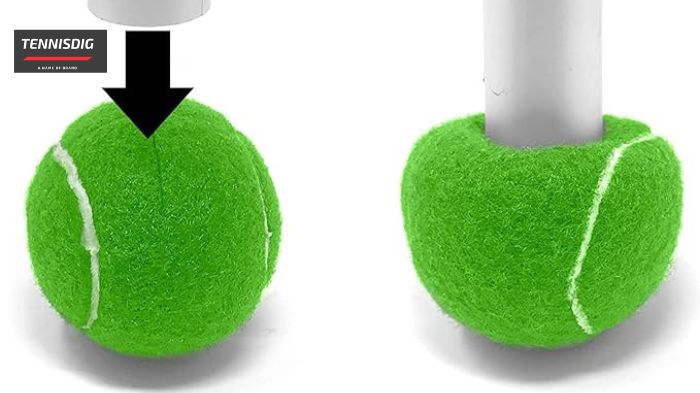
Cut a tiny vertical cut into each tennis ball using a sharp utility knife or scissors. The opening should be broad enough to fit the breadth of the walker’s legs but not so big that the ball falls free. This step makes slipping the tennis balls onto the walker’s legs easy.
Step 4: Attach the Tennis Balls
With the slits cut, carefully push and slide each tennis ball onto the underside of the walker’s legs. To keep the balls from coming off while in use, make sure they fit snugly. You will notice an instant improvement in how the walker glides across surfaces, with smoother and quieter movement.
Step 5: Test and Adjust
Take a few steps with the walker to test the changes. Pay attention to how it moves and if the tennis balls stay in position. If changes are required, repeat Step 3. Make the slots slightly wider or smaller as desired.
Advantages of Using Tennis Balls on A Walker
The following advantages elaborate that using tennis balls on the legs of a walker is beneficial for the users and their family members (or caretakers)
Improved Maneuverability
The smooth surface of tennis balls enables better movement, particularly on carpets and uneven surfaces.
Reduced Noise Pollution
These balls’ soft, rubbery texture reduces walker noise, providing a quieter and more inconspicuous mobility alternative.
Floor’s Armor
Tennis balls are a buffer, shielding your flooring from scratches and marks left by the walker’s legs.
Cost-Effective Remedy
Tennis balls are less expensive than specialized walker attachments for improving stability, which are often too pricey to afford for many users.
The Bottom Line
Learning and implementing how to put tennis balls on a walker is a simple but effective way to improve its stability and usability. By following the procedure, you can make this change quickly and affordably. The result is a walker that goes smoothly, silently, and with less impact on interior surfaces, making it a more pleasant and efficient mobility assistance for daily usage.

